How to use font-awesome: A step-by-step tutorial
Try MaxiBlocks for free with 500+ library assets including basic templates. No account required. Free WordPress page builder, theme and updates included.

Updated 15th May 2025
An introduction to Font Awesome and how to use it effectively
A practical guide to adding scalable icons to your website or blog
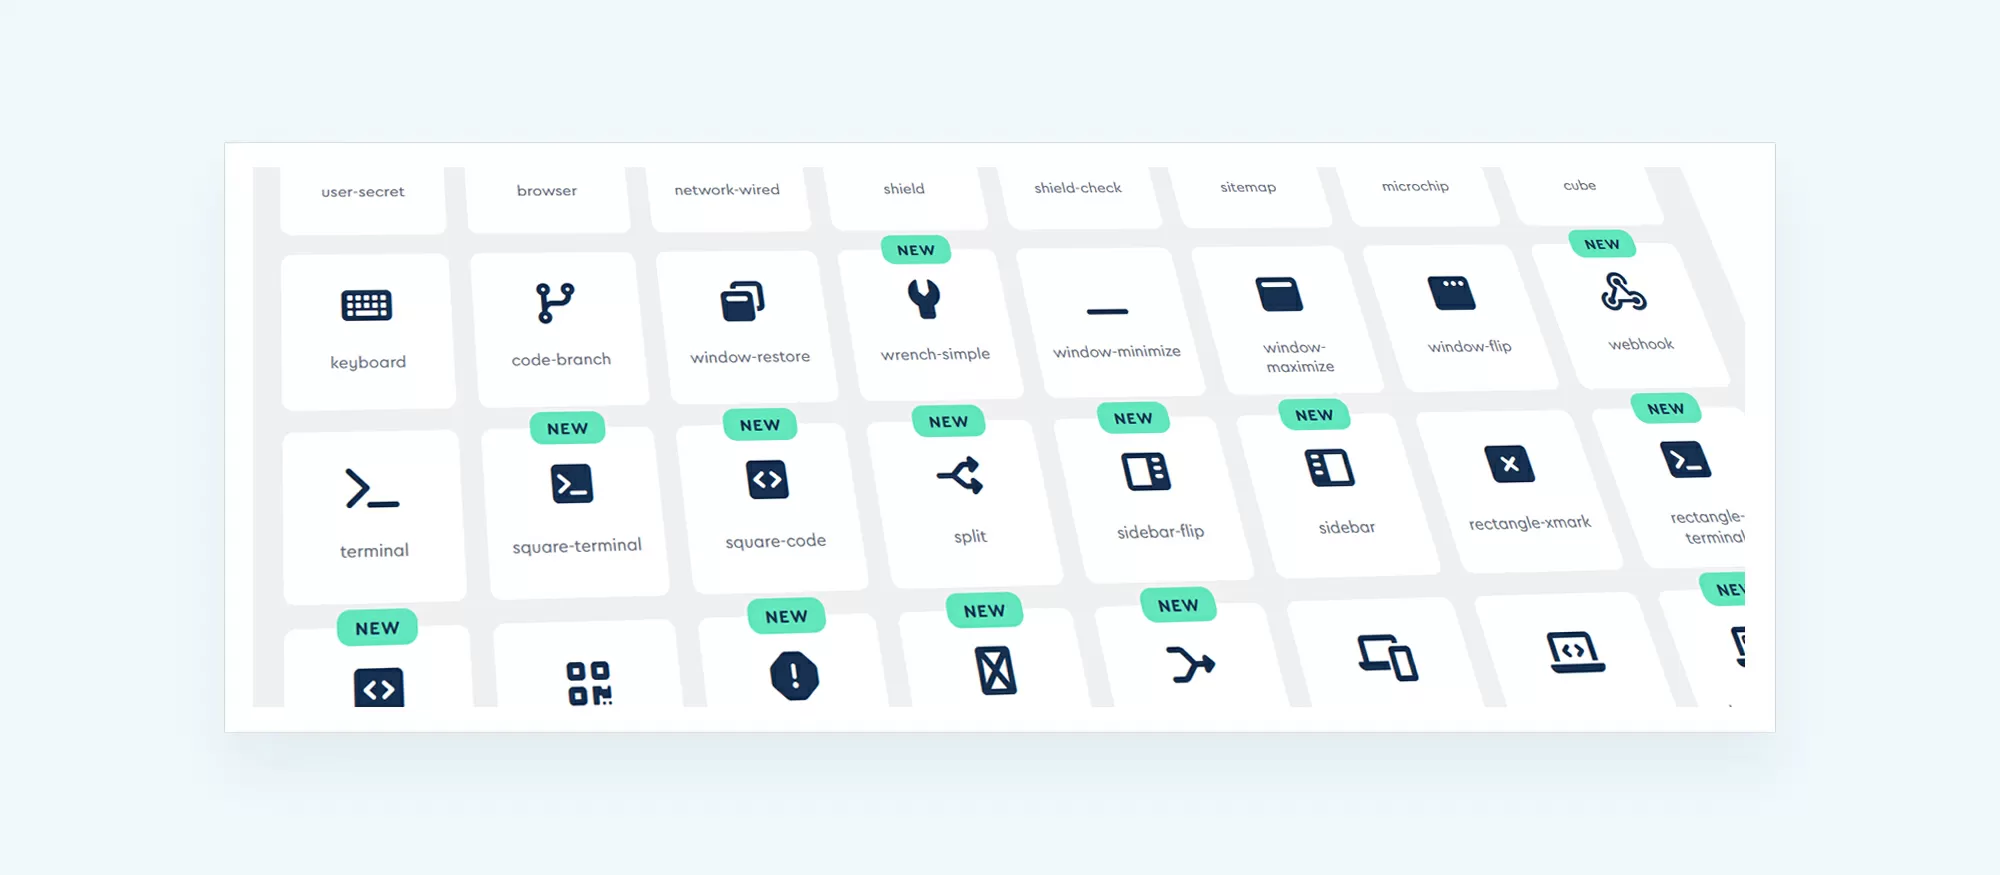
Font Awesome is a flexible and widely used icon toolkit that provides scalable vector icons you can add to websites and web apps. Created in 2012, it has become a popular choice among designers and developers for adding visual elements that are easy to style and integrate into any design.
What makes Font Awesome useful
Font Awesome icons are vectors, which means they can scale to any size without losing quality. You can change their colour, size, and style using CSS, making them versatile for different screen sizes and layouts. They are accessible, screen reader-friendly, and work well across all major browsers. This makes them ideal for creating a clean and consistent look in your interface.
How Font Awesome icons work
To use Font Awesome, you start by including a link to the library in your project. You can do this using a CDN or by hosting the files locally. Once added, you can insert icons using HTML elements with specific classes. For example, <i class="fas fa-camera"></i> will show a solid camera icon. You can then style the icon with CSS to fit your layout.
Font Awesome icons are grouped into different styles. These include solid, regular, and brand icons. Solid icons are bold and filled, regular icons are outlined, and brand icons represent popular companies like Twitter, Facebook, or GitHub.
Ways to use Font Awesome
Font Awesome supports several integration methods depending on your needs. You can use it via CSS, SVG with JavaScript, or web fonts. For example, with CSS, you link the stylesheet and apply classes in your HTML. With SVG, you use JavaScript to control icons dynamically. Each method has its strengths depending on whether you want better performance, greater control, or simpler implementation.
Using Font Awesome in HTML, CSS, and JavaScript
In HTML, you simply include the library and use the appropriate class. In CSS, you can reference the icon’s Unicode value and apply it using pseudo-elements. In JavaScript, the library allows you to create and insert icons dynamically, which is useful for interactive elements or dynamic content.
Free and Pro versions of Font Awesome
There are two main versions of Font Awesome. The free version includes thousands of icons and is open source. The Pro version is a paid upgrade offering access to more icons, styles, and features, including the ability to upload custom icons. This is helpful for designers working on more advanced or brand-specific projects.
Styling and customising icons
Font Awesome icons can be easily customised with CSS. You can change size, colour, add shadows, rotate them, or even stack multiple icons on top of each other. This allows for a wide range of visual effects without relying on additional image files.
Real-world use and adoption
Font Awesome is used by many leading websites, including Bloomberg, the BBC, and Samsung. Its widespread adoption speaks to its reliability, ease of use, and visual consistency. It has become a standard tool in web development, particularly in UI design and responsive layouts.
Summary of key features
Font Awesome provides a reliable way to add high-quality icons to your projects without compromising on performance or design flexibility. Whether you’re building a blog, a business site, or a complex web application, its scalable icons and customisation options make it a smart choice. With free and Pro options, it suits everything from personal blogs to commercial platforms.

How to manipulate Font Awesome icons for your website
Simple ways to resize, recolour, and customise icons with CSS classes
Font Awesome icons are highly customisable, allowing you to control their size, colour, orientation, and even stack them to create more complex visuals. These adjustments can enhance the design and user experience of your website or blog without needing any images or graphics software.
Adjusting the size of icons
You can make Font Awesome icons larger or smaller by applying size-related classes directly to the HTML element. Common size classes include fa-sm, fa-lg, and a range from fa-2x to fa-10x, which scale the icon relative to the base size. You can also adjust icon size using CSS with the font-size property, making them behave like regular text elements. This approach is useful for finer control or when applying responsive styles.
Changing the colour with CSS
To change an icon’s colour, you can apply a custom class to your HTML tag and use the color property in your CSS. Since Font Awesome icons behave like text, this makes it easy to match your icons to the theme of your site or to highlight specific actions or sections.
Rotating and flipping icons
Font Awesome includes built-in classes that allow you to rotate or flip icons without editing images or writing extra CSS. You can rotate by 90, 180, or 270 degrees using fa-rotate-90, fa-rotate-180, and so on. You can flip icons horizontally or vertically using fa-flip-horizontal and fa-flip-vertical. These tools are particularly useful for directional icons or adjusting layout elements.
Stacking icons for visual effects
Stacking allows you to layer multiple icons for a more dynamic visual design. Using fa-stack, you can combine two icons such as placing a symbol over a circle or background shape. This is helpful for buttons, badges, or when adding depth to navigation or UI elements. You apply fa-stack-1x to the foreground icon and fa-stack-2x to the background to control the layer size and order.
Editing icon styles with HTML and CSS
To use or modify an icon, insert the relevant class from the Font Awesome library into your HTML. Each icon has a unique class, like fa-camera, and different style families such as fas for solid, far for regular, and fab for brands. You can paste these class names into your code and then style them further using CSS.
Font-based icons and icon names
Font Awesome functions as an icon font, displaying symbols through class names rather than traditional images. The icon library includes a wide range of categories, from navigation and UI icons to social media and brand symbols. The free version includes thousands of icons, and the Pro version offers even more, along with additional customisation options.
Why CSS class structure matters
Using clearly named classes not only makes your code easier to manage but also improves accessibility and consistency across your site. Icons play a useful role in user navigation, such as using a house symbol for the home page or a shopping basket for checkout.
With Font Awesome, you can create highly visual and responsive icon-based interfaces without needing graphic design skills. By using the built-in classes and a bit of CSS, you can fully control how each icon appears and behaves on your website.
Subscribe to our newsletter
Improving Font Awesome performance and troubleshooting common issues
How to optimise loading times and avoid display problems on your website
Font Awesome is a powerful tool, but using it efficiently can make a big difference to your website’s speed and user experience. With a few practical adjustments, you can reduce file size, minimise loading times, and avoid common problems with icon display.
Tips for better performance
You can start by reducing the number of HTTP requests. Every time your page loads, it sends a request to load the Font Awesome files. To streamline this, use a content delivery network (CDN) or combine files into a single request. CDNs often deliver assets faster by serving them from locations closer to the user.
Another tip is to only include the icons you need. The full Font Awesome library is large, but you probably only use a small portion of it. You can create a custom build with selected icons or use the SVG with JavaScript approach to load only specific icons. This can significantly reduce the size of your site’s assets.
CSS pseudo-elements offer another way to add icons without additional HTML. You define the icon using a Unicode value within a CSS class. This method helps simplify your markup and reduce page size, improving load performance slightly, especially on sites with many icons.
Caching also plays a major role in performance. When a user visits your site, caching stores files locally so they don’t need to be re-downloaded each time. Use proper cache headers on your server or set up a service worker to handle caching. This can make returning visits faster and reduce bandwidth use.
Common problems and how to fix them
Sometimes icons do not appear on the page. This is usually due to a missing or incorrect file path. Always check that your Font Awesome CSS or JavaScript file is linked properly. If the path is wrong or the file has not loaded, the icons will not display.
Another issue is when icons appear as blank squares or unexpected characters. This often means the font files are not loading. Ensure your server is serving the correct MIME types and that the files are located in the correct directory. If you use a CDN, double-check the setup and permissions.
Using the correct class names is also important. A small typo in a class name will prevent the icon from showing. Always refer to the official icon list to confirm that you’re using the right syntax.
Staying up to date
Font Awesome frequently releases new icons, fixes, and improvements. Keeping your version updated ensures better performance and avoids known bugs. Updates are available on the official Font Awesome site, and issues or bugs can be reported through their GitHub page.
By following these steps, you can ensure your icons load smoothly, your pages are faster, and your visitors enjoy a seamless experience. Whether you are building a blog, a business site, or an app, these techniques help keep everything running efficiently.

How to use Font Awesome in WordPress
Simple steps for integrating icons into your website
Font Awesome can be added to your WordPress site to enhance its visual appeal and improve user interaction. You can either use a plugin or manually add the Font Awesome files to your theme, depending on your preference and level of experience.
Using a plugin for easy setup
The simplest way to add Font Awesome is by installing a plugin from the WordPress plugin directory. Popular options include Font Awesome, Better Font Awesome, Font Awesome Icons, Font Awesome More Icons, and Font Awesome Shortcodes. These plugins make it easy to insert icons into your pages and posts, and many include extra features such as icon pickers or shortcode generators. Once the plugin is installed and activated, you can start using icons in your content with minimal effort.
Manually adding Font Awesome to your theme
If you prefer not to use a plugin, you can manually add Font Awesome by downloading the necessary files from the official website and uploading them to your WordPress theme directory. You then include a reference to these files in your theme settings. After that, you can use the Font Awesome class names in your content or templates to display icons.
Using Font Awesome with Gutenberg
In the Gutenberg editor, Font Awesome icons can be added by applying the appropriate class names to your block elements. If you’re using a plugin, it may offer an icon chooser directly in the editor. If you’ve added Font Awesome manually, you can still include icons by inserting the relevant classes in a custom HTML block. This allows you to use icons in headings, buttons, and other design elements across your site.
Improving site design with icons
Once installed, Font Awesome allows you to add icons to menus, sidebars, posts, pages, and widgets. It supports responsive design and accessibility standards, making your site more engaging and user-friendly. Whether you choose the plugin route or manual integration, Font Awesome offers a simple way to enrich your WordPress website’s look and function.
Building a successful WordPress site involves more than just picking a theme. A custom WordPress website gives you complete control over your branding and functionality, and you can always bring in one of the top WordPress designers or hire a trusted freelance WordPress web designer to help you get it right. Along the way, you might run into the occasional hiccup, so it’s worth learning how to handle issues with this helpful guide on debugging WordPress. To enhance your site’s performance and features, start with the essential WordPress plugins or explore an extended list of recommended plugins. If you’re aiming to improve your search visibility, this beginner’s guide to keyword research is a smart place to start. Hosting also plays a vital role in speed and reliability, so take time to explore your options with this WordPress hosting guide, a closer look at WordPress website hosting, and a full list of available hosting choices. For layout and design flexibility, it helps to understand how Flexbox works and apply advanced Flexbox direction techniques. Finally, give your site a visual lift by following this step-by-step Font Awesome guide to easily add sharp, scalable icons.
Smart solutions for modern WordPress web designers
Design better sites with smart solutions built for WordPress web designers and creative teams.
FAQs – Font-Awesome
What is Font Awesome?
Font Awesome is a popular icon toolkit that provides scalable vector icons that can be easily customised with CSS. It is widely used in web design and development to add visually appealing icons to websites.
How do I use Font Awesome on my WordPress site?
You can add Font Awesome to your WordPress site by installing a plugin that includes it, using a theme that supports it, or by manually inserting the CDN link into your site’s header file.
Why is Font Awesome useful for websites?
Font Awesome helps improve user experience by using icons to visually represent actions, features or content. It enhances design while keeping your website lightweight and responsive.
Are Font Awesome icons scalable?
Yes, Font Awesome icons are vector-based, meaning they can be resized without losing quality. This makes them ideal for use on both desktop and mobile devices.
Is Font Awesome free?
Font Awesome offers both free and Pro versions. The free version includes hundreds of commonly used icons, while the Pro version includes thousands of additional icons, styles and features.
Can I style Font Awesome icons with CSS?
Yes, you can easily change the size, colour, rotation and positioning of Font Awesome icons using standard CSS, making them highly customisable to match your website’s design.
How do I insert a Font Awesome icon into my content?
You can add an icon by inserting an HTML tag with the appropriate class into your page or post, such as <i class="fas fa-home"></i> for a home icon.
Does Font Awesome affect site speed?
Font Awesome is relatively lightweight, but including too many icons or loading unnecessary files can slightly impact performance. Using the kit or CDN wisely helps maintain speed.
What is the difference between the regular, solid and light styles?
Font Awesome provides icons in different styles such as solid, regular, light and duotone. These styles allow for different visual effects and are especially useful in the Pro version for more design flexibility.
Can I use Font Awesome with page builders?
Yes, most page builders like Elementor, WPBakery and Beaver Builder support Font Awesome, allowing you to insert icons directly through the builder interface without writing code.
Is Font Awesome compatible with all browsers?
Font Awesome is designed to be compatible with all modern browsers. However, it may not render properly in very old or unsupported browsers.
Can I use Font Awesome offline?
Yes, you can host Font Awesome locally by downloading the files and adding them to your theme or plugin directory, which is useful if you want to avoid relying on an external CDN.
How do I update Font Awesome on my website?
If you’re using a plugin, updates are usually handled through WordPress. For manual installations, you need to download the latest version and update the files or CDN link accordingly.
What is Font Awesome Kit?
A Kit is a hosted version of Font Awesome that you manage through an online dashboard. It gives you access to all icons, easy version control and custom configuration without touching your site’s code.
Can Font Awesome icons be animated?
Yes, you can apply CSS animations to Font Awesome icons or use the built-in spin and pulse effects provided with the icon classes, such as fa-spin or fa-pulse.
What’s the difference between SVG and Web Fonts in Font Awesome?
SVG icons offer better styling flexibility and performance, while Web Fonts are more widely supported and easier to use in older environments. Font Awesome lets you choose based on your project needs.
Are Font Awesome icons accessible?
Yes, Font Awesome includes accessibility features such as ARIA labels and roles to ensure icons are usable by screen readers and assistive technologies when implemented correctly.
Can I create custom icons with Font Awesome?
Font Awesome Pro allows you to upload your own SVG icons and use them alongside the standard icon set, offering even more customisation for your brand or project.
Does Font Awesome work with frameworks like Bootstrap?
Yes, Font Awesome integrates seamlessly with frameworks like Bootstrap, allowing you to enhance UI elements like buttons, navbars and modals with icons.
Is there a way to search icons easily?
Yes, Font Awesome provides an online icon search on their official website, where you can browse icons by category, style or keyword to quickly find the one you need.
WordPress itself
Official Website
wordpress.org – This is the official website for WordPress, where you can download the software, find documentation, and learn more about using it.
WordPress Codex
codex.wordpress.org/Main_Page – This is a comprehensive documentation resource for WordPress, covering everything from installation and configuration to specific functionality and troubleshooting.
WordPress Theme Directory
wordpress.org/themes – The official WordPress theme directory is a great place to find free and premium WordPress themes. You can browse themes by category, feature, and popularity.
maxiblocks.com/go/help-desk
maxiblocks.com/pro-library
www.youtube.com/@maxiblocks
twitter.com/maxiblocks
linkedin.com/company/maxi-blocks
github.com/orgs/maxi-blocks
wordpress.org/plugins/maxi-blocks

Kyra Pieterse
Author
Kyra is the co-founder and creative lead of MaxiBlocks, an open-source page builder for WordPress Gutenberg.
You may also like

